
Installation Instructions
Recommended Installation Instructions for both primary now construction and wrap-around construction remodeling are shown below and should be carefully followed for proper application.
Installation Instructions
- Figure 1, 2, and 3 apply to both primary support and wrap-around.
- While Figures 4-A and 4-B apply to wrap-around usage.
- Figures 6-A and 6-B apply to primary support applications.
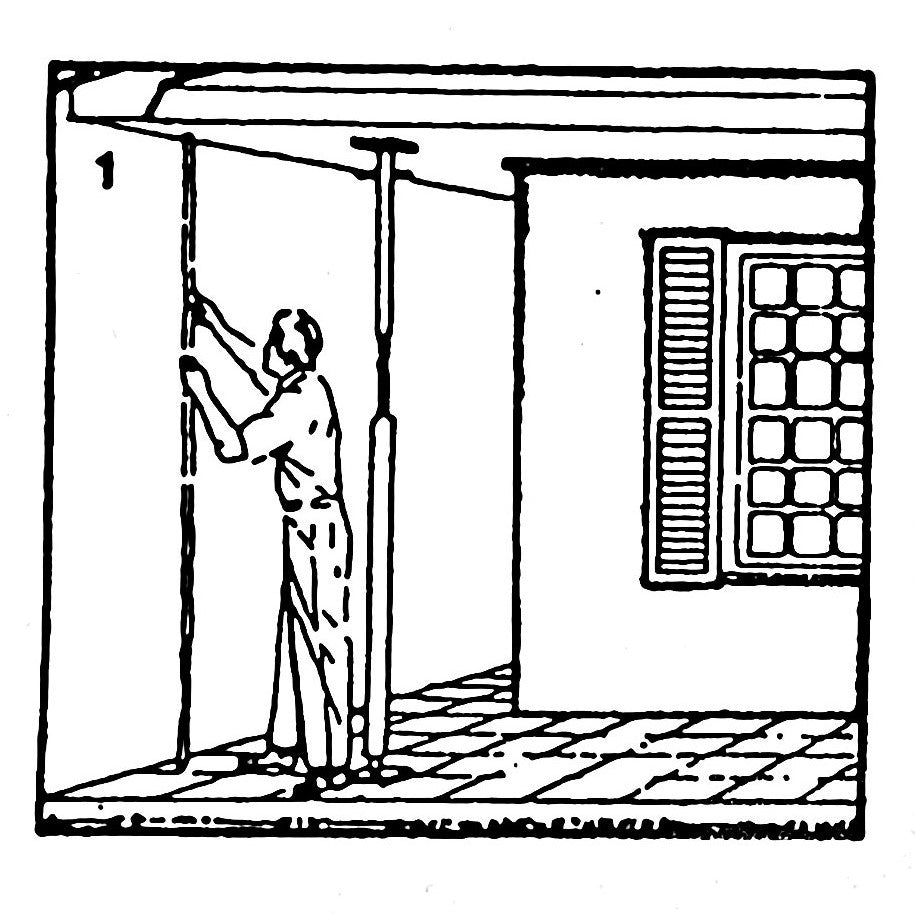
- Measure required height (NOTE: For now construction, add 1/4" to measured height. For wrap around installation, subtract 1/4 from measured height) and cut column staves with a hacksaw prior to assembly.
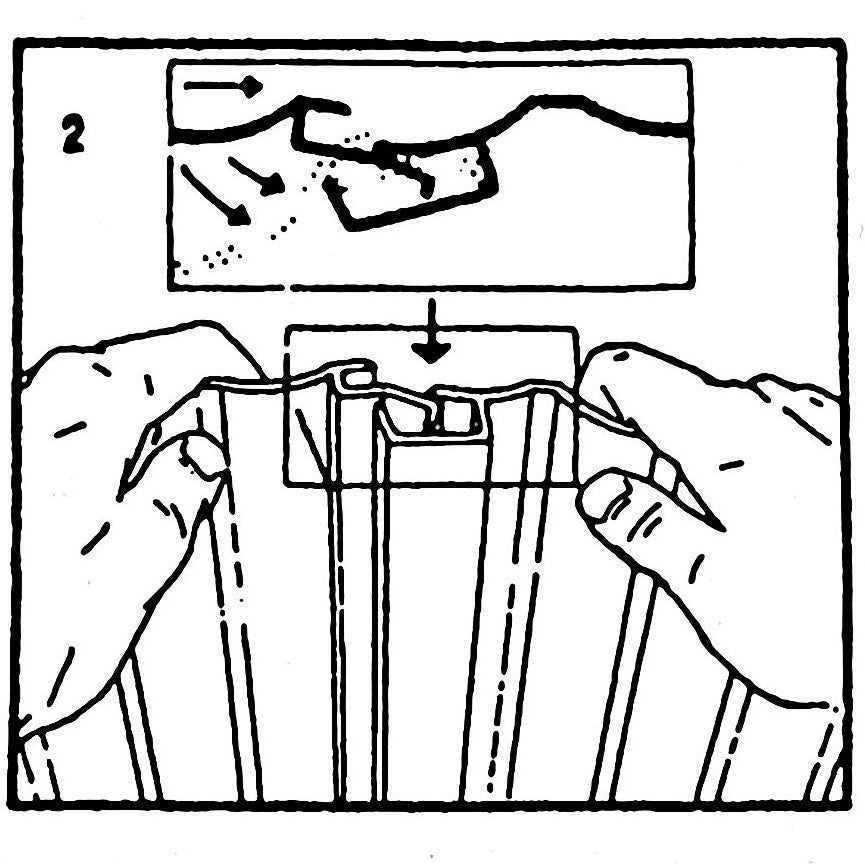
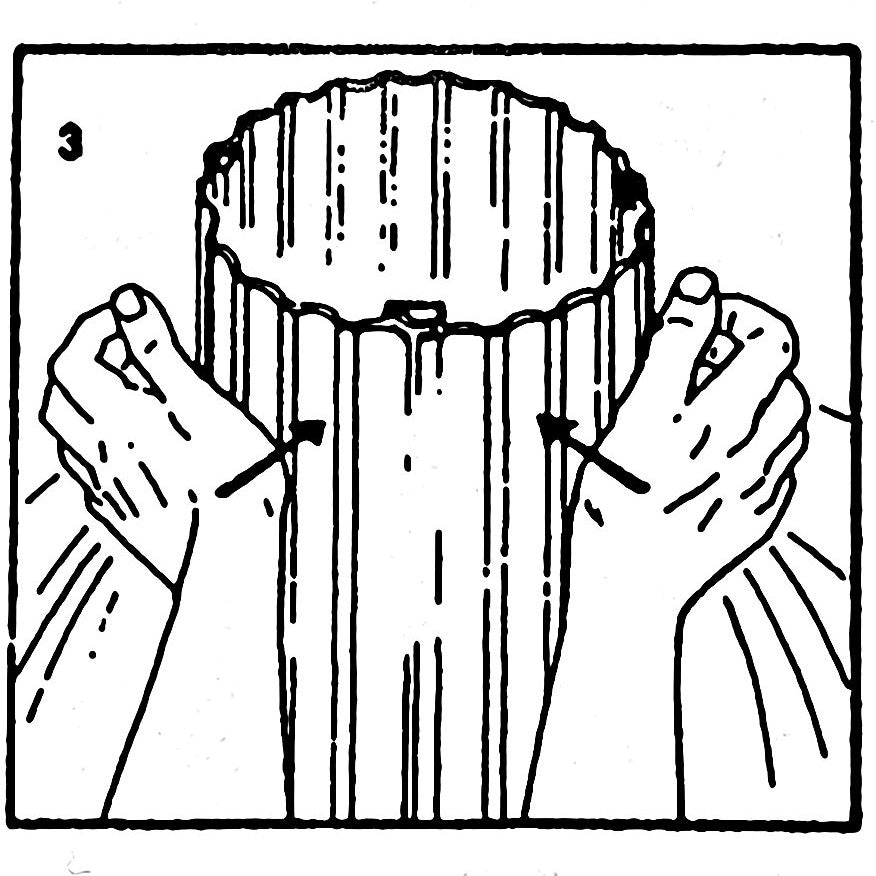
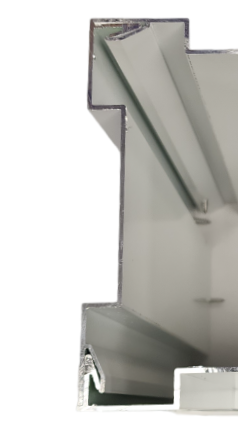
- Assemble staves by rotating together.
- Assemble final interlock by rapping with the heels of the hands, starting at one end of the column.
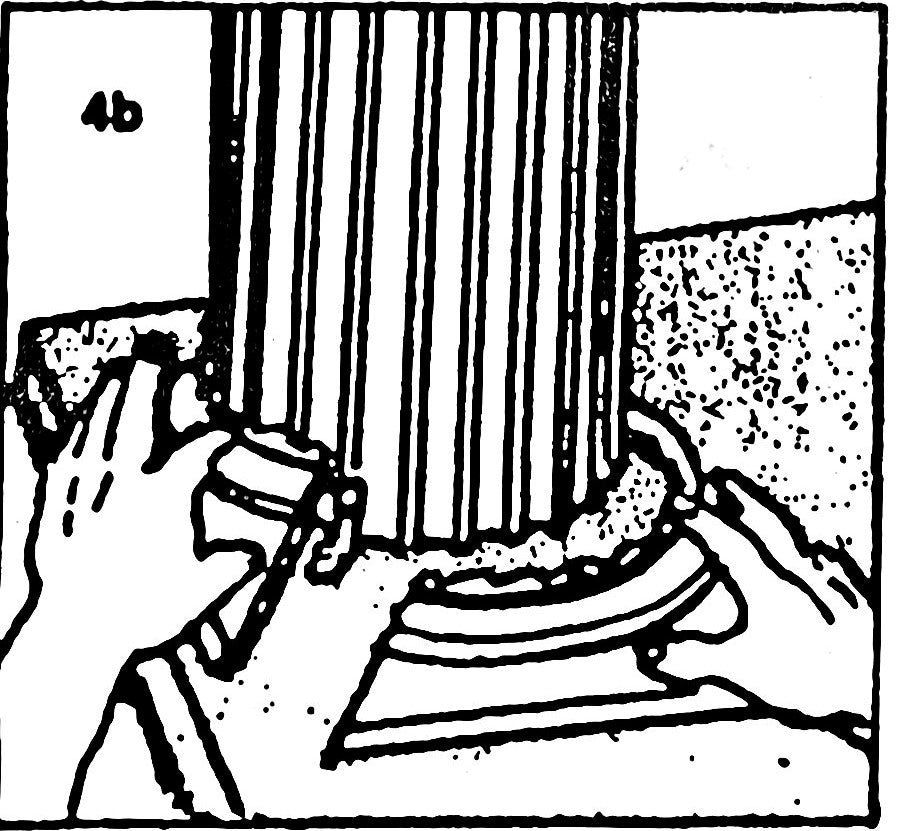
Wrap-Around Assembly
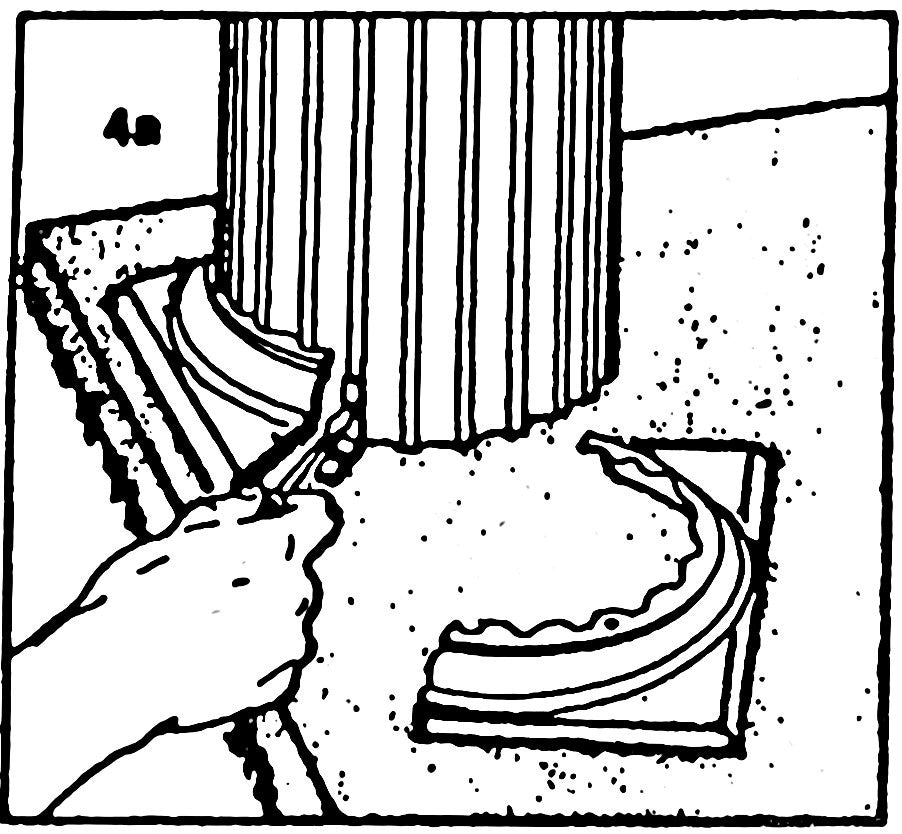
4-A. Cut base with hacksaw along diagonal splitting lugs on underside of base.
Place 1/2 of split base around column, so that edge Is parallel to edge of structure.
Plumb column along a single column flute at corners of the split base.
Fasten column top and bottom with two angle brackets
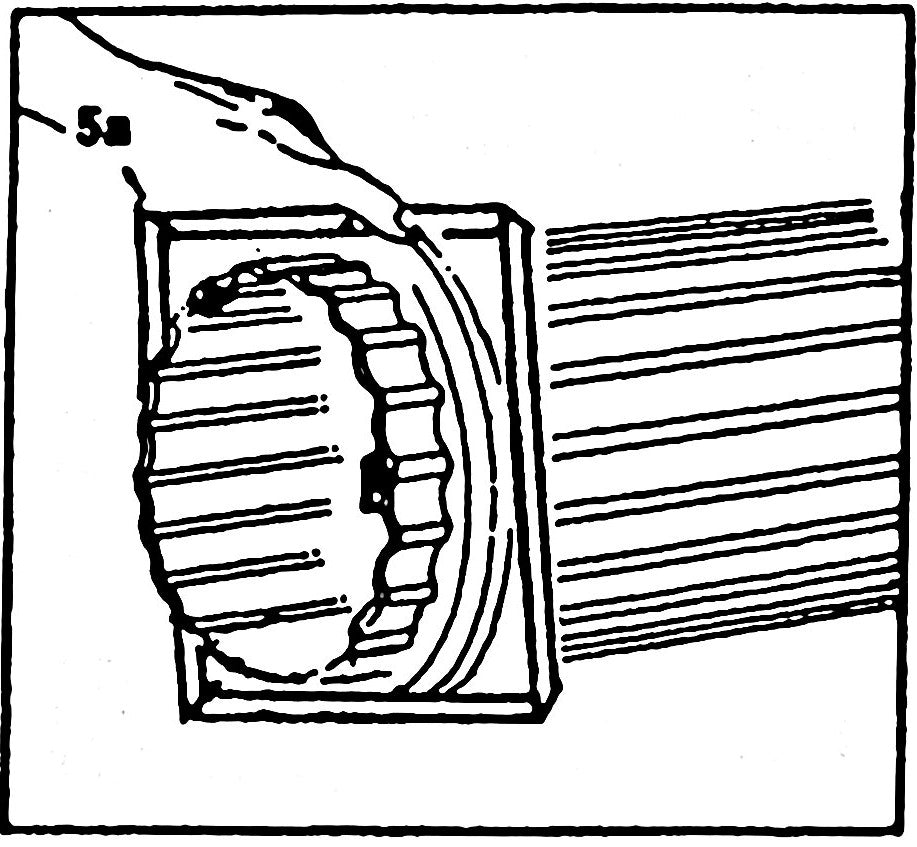
4-B. Place second 1/2 of split base and cap around column and drill three 1/8" holes through base and cap and into column, in line with ribs.
Fasten with screws as in figure 5-B supplied in base of master carton
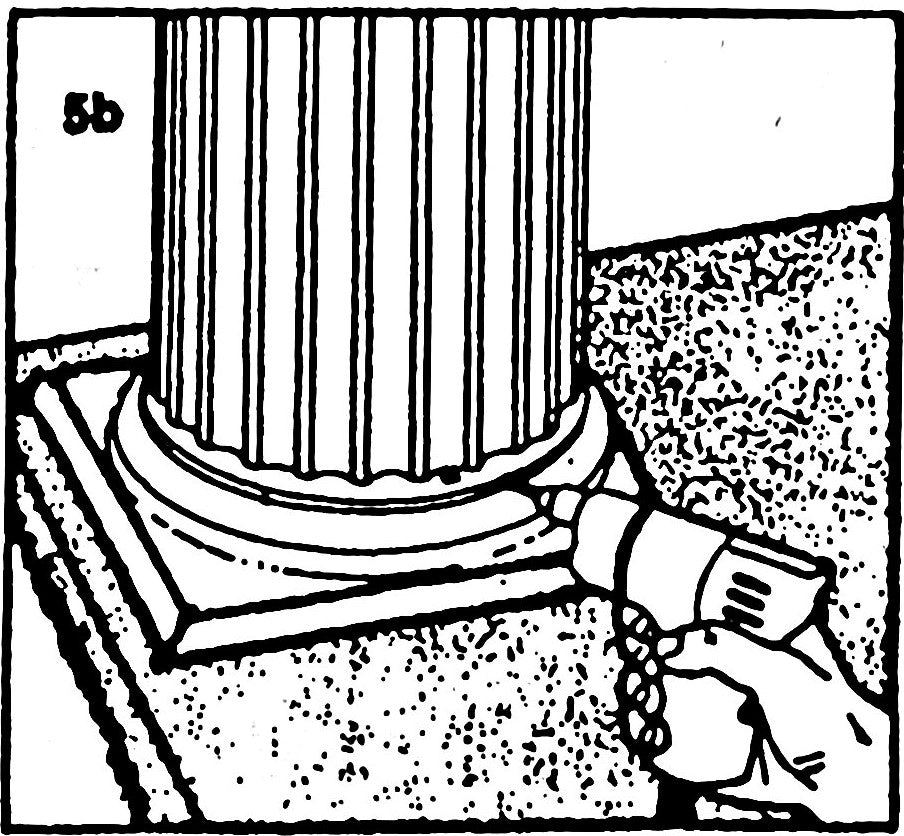
Primary Support
5-A. Slide cap and base on column ends.
To avoid scratching of column, slide base on until bottom is flush with end of column.
Raise structure 1/2" to permit plumb installation of assembled column.
Lower structure to secure column.
5-B. Drill threo 1/8" holes oqually spacod,through baso and into column, In lino with rlbs.Faston with SCrows suppliad in baso of mastor car-ton.
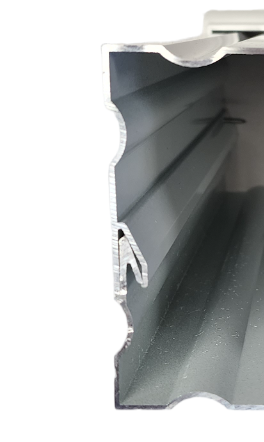
Square Aluminum Column
The column sections snap together. This is accomplished by tapping firmly but not hard along the edge of the column.
It Is best to use a rawhide or rubber mallet for this.
If you use a steel hammer, be sure and use a block of wood under it to prevent hammer marking the metal.
Fasten column top and bottom with the four angle brackets, 2 for the top and 2 for the bottom.
Square Panel Column
The column sections snap together. This is accomplished by tapping firmly, but not hard, along the edgeof the column. It is best to use a raw hide or rubber mallet for this.
If you use a steel hammer, be sure and use a block of wood under it to prevent the hammer marking the metal. Fasten the column top and bottom with the four angle brackets,2 for the top and 2 for the bottom.
Before attaching the base, place one of the spacers provided (2" x 1/2") against the bottom of the column so that the 1/2" side is up.
Using one of the #6 screws provided attach the spacer directly to the column, one centered on each side of the column1/2" from the bottom edge and 1/2"from the top edge.
Fit the base against the spacers. Using the remaining #6 screws attach the base at corners to the column as shown in the photo at right.